Showing posts with label Thank you. Show all posts

Wednesday, November 4, 2015

Color Challenge 43

Wow! Time just flies by this time of year.  We have another Card Concept Challenge for your today. The inspiration photo has some soft colors of beige, yellows, golds and if you look closely even blue.


My card is in the Clean & Simple style which is defined here. I wanted to get an apple into my card but that just didn't work out for me so I stuck with the colors. I started with More Mustard Along the bottom and then some Crushed Curry above that. They are a bit close in color so hard to distinguish a change. The next color up is Bordering Blue.


 I die cut the thanks in both More Mustard and Chocolate Chip and layered them slightly offset.  I placed this right along the intersection of the blue and yellow inks.


Lastly I stamped a few twinkles going up the card in the 3 colors and added some shine with my Stardust Gelly Roll pen and popped the panel up on foam tape.


I hope that you will check out the cards of the rest of the Design Team and then join in with our challenge!!  Have a great day!


SUPPLIES:
Stamps: Good Times (PTI)
Paper: White (PTI); More Mustard, Chocolate Chip (SU)
Ink: More Mustard, Crushed Curry, Bordering Blue (SU)
Other: Thanks On a Line die (SSS); Stardust Gelly Roll pen; foam tape; glue pen

Wednesday, September 9, 2015

The Card Concept Challenge Has Returned

Hi All!  This is so exciting for me. My first Card Concept challenge as a member of the Design Team!  For our first challenge back from summer break we have this inspiration photo.


I love that yellow and aqua color combo. I also love the daisies but I have a new butterfly die and I wanted to try it out so I went that direction instead of flowers. So here is my Clean and Simple card.


 I sponged Aqua Mist ink over the mesh stencil and then used my aquapainter to flick on some Hawaiian Shores ink.  Next I stamped the sentiment.


I die cut the butterfly from some dotted vellum and then used my aquapainter to add Lemon Tart, Harvest Gold & Summer Sunrise to the back of the piece. It really curled and I was a bit worried until I used my hair dryer on a low setting to dry it from the back and it flattened out to a nice looking gentle curl. I added the black rhinestones then adhered the butterfly with glue dots.


A few enamel dots finished it off.


Now that you've seen this card, which I am really happy with,  I will show you the first card that I made. I really like this one too but it seemed just a touch fussy for a Clean & Simple card.


I cut a piece of cardstock to 4 x 5-1/4" then I used an aquapainter to loosely paint the background in Aqua Mist and let it dry.


Next I the spackled over a portion of the stencil and let it dry. While it was drying I stamped Lemon Tart, Harvest Gold & Summer Sunrise onto an acrylic block then swished a bit of water onto the block with an aquapainter. On a separate piece of white cardstock I smooshed the ink from the acrylic block. I did this a couple times, let it dry and then flicked some Tropical Teal onto it. I die cut the butterfly from this piece.


Next I Stamped the sentiment.  I got the spackling paste a bit far down and so I stamped over it but it's still ok.  I adhered the butterfly with glue dots only in the center so that the wings can float off the paper a bit.  Lastly I added the enamel dots and taped this layer down to the card. You could also add dimensionals to this layer but I'm at my daughter's right now and we haven't unearthed her dimensionals  from boxes yet.  It may all sound complicated but it went pretty quickly.


I hope that you liked my card(s) and will participate in this challenge. Also check out the inspiration from all the other Design Team members.

Thanks for stopping by today!


SUPPLIES: (all supplies are from PTI unless noted)

Card 1:
Stamps: Graceful Greetings 
Paper: White , Dotted Vellum
Ink: Aqua Mist, Hawaiian Shores, Lemon Tart, Harvest Gold, Summer Sunrise; Versafine Onyx Black
Other: Life is Beautiful Die Collection (pti); Texture Mesh stencil (Memory Box); sponge; Aquapainter, Acrylic block, Glue Dots (SU); Enamel dots (Doodlebug & Teresa Collins); Dimensionals (Recollections); Rhinestones (Recollections)

Card 2:
Stamps: Graceful Greetings 
Paper: White 
Ink: Aqua Mist, Tropical Teal, Lemon Tart, Harvest Gold, Summer Sunrise; Versafine Onyx Black
Other: Life is Beautiful Die Collection (pti); Lightweight spackling paste (hardware store); Texture Mesh stencil (Memory Box); Aquapainter, Acrylic block, Glue Dots (SU); Enamel dots (Doodlebug & Teresa Collins); Dimensionals (Recollections)

Saturday, March 21, 2015

Bitty Bouquets Card Set

Good Morning! A friend at church is raising money for Relay For Life and asked if I would contribute some cards.  I created a set of 4 cards using PTI's new Bitty Bouquet set. I have started to save the plastic cases that my PTI stamp sets come in. They work perfectly to hold 4 cards & 4 envelopes.


This first card uses Wisteria Wonder & Bashful Blue ink (SU) for the flowers and Limeade Ice (PTI) ink for the leaves. The sentiment  is Keep It Simple: Get Well (PTI).


Card #2:
Harvest Gold and New Leaf ink (PTI). The sentiment is Handwritten Borders (SSS).


Card #3:
Pure Poppy and Ripe Avocado (PTI); Bashful Blue (SU). Sentiment is Keep It Simple: Birthday (PTI).


Card #4:
Berry Sorbet & Simply Chartreuse (PTI). Sentiment is Keep It Simple: Thank You (PTI)


Hope you like my simple set of note cards. Thanks for stopping by!

Monday, May 19, 2014

Scribbling a Thank You

I went looking for inspiration for a thank you card that I needed to make and found this week's Freshly Made Sketches and ColourQ challenges.


For the flower I inked up the back side of the Circle Scribble stamp in Pool Party and then spritzed it with water before stamping on Neenah Solar White. Then I stamped the scribble in Chocolate Chip and cut it out freehand.  It is popped up on dimensionals. The turquoise plaid is wash tape. I stamped So Stripey in Chocolate Chip and freehand cut the flag.  I originally stamped the sentiment directly on the card in Versamark and embossed with gold embossing powder but my powder was old and chunky, glittery and I really didn't like the look. So I restamped the sentiment in gold ink and turned it into a flag.

Thanks for stopping by!  Have a great day!!


SUPPLIES:
Stamps: Circle Scribbles, Keep It Simple: Thank You (PTI), So 80's (WP9), So Stripey (Reverse Confetti)
Paper: Pool Party (SU), Neenah Solar White
Ink: Pool Party, Chocolate Chip (SU), Gold
Other: Avery Elle sequins, Baker's twine, button & dimensionals (SU), Glue Dots, Tim Holtz Tiny Attacher


Edited 5/21: Yippee!! My card was chosen as one of the Freshly Made Sketches Princesses!

Friday, January 31, 2014

GO SEAHAWKS!


Well it was unintentional but my subconscious must have been thinking Seahawks when I made this card. I am from the greater Seattle area and we are so excited that they are in the Super Bowl!! Well on to the card.

I watched a video this week by Jennifer McGuire and she used verdigris embossing powder on embossing paste. It reminded me that I bought some verdigris from Stampin'Up years ago.  There is another video by Shari Carroll which I've been itching to try where she used acetate to raise words up off the card. So I thought I could combine several techniques and this week's CAS(E) This Sketch challenge for my card.  Since I just took the Stenciled Online Card Class this fits right in with that too.


I tried to get a picture of the acetate so that you could see the layers but it was hard to get it to show up. I used the 2 way glue pen to adhere the sentiment to the acetate.


Here you can see the colors of the verdigris embossing powder. I sprinkled the powder on the spackling paste while it was still wet but waited for it to dry before heating it up with my heat tool.


Thanks for stopping by today! GO SEAHAWKS!!!


p.s.  I just saw that OWH is doing a 3-day Card Bowl Challenge and today's challenge is to make a masculine card that reflects your choice of team to win. Well I think my card fits this so I'm entering it in the challenge.


SUPPLIES:
Stamps: none
Paper: White (PTI), Night of Navy (SU), DSP by SU
Ink: none
Other: Thanks On a Line die (SSS), Tim Holtz layering stencil "Bubble", light weight spackling paste (Ace Hardware), Verdigris embossing powder (SU), acetate, foam tape, Zig 2 way glue pen

Tuesday, November 12, 2013

Feathers

Here's a card that I made while visiting my daughter a couple weeks ago.  4-1/2 weeks until move in day. Starting to panic - just a bit!


For the feathers, I sponged on the color and then gently fold them along the middle score line. They are attached with small pieces of foam dimensionals.


Thanks for stopping by today!


SUPPLIES:
Stamps: Thank You Kindly (SU)
Paper: Kraft, Soft Suede
Ink: Soft Suede, Old Olive, Daffodil Delight, Really Rust, Tangerine Tango (SU)
Accessories: May Arts jute, dimensionals,  spackling paste
Tools: Pointed Feathers die (SSS),  Fillable Frames #9 (PTI), Chevron stencil (SSS), sponge

Monday, October 21, 2013

Sunday Stamps Color Challenge

I have been really inspired by Lime Doodle lately but especially by her cards using embossing paste.  I tried to purchase it online but it has been out of stock for a while. I guess everyone else is inspired too. So I searched for an alternative and came up with spackling paste. Yup. The hardware store saved the day. Half the price and twice the quantity. I don't know how it compares to "embossing paste" but it worked great for me. Here's my card in honor of Lime Doodle and this week's color challenge at Sunday Stamps.


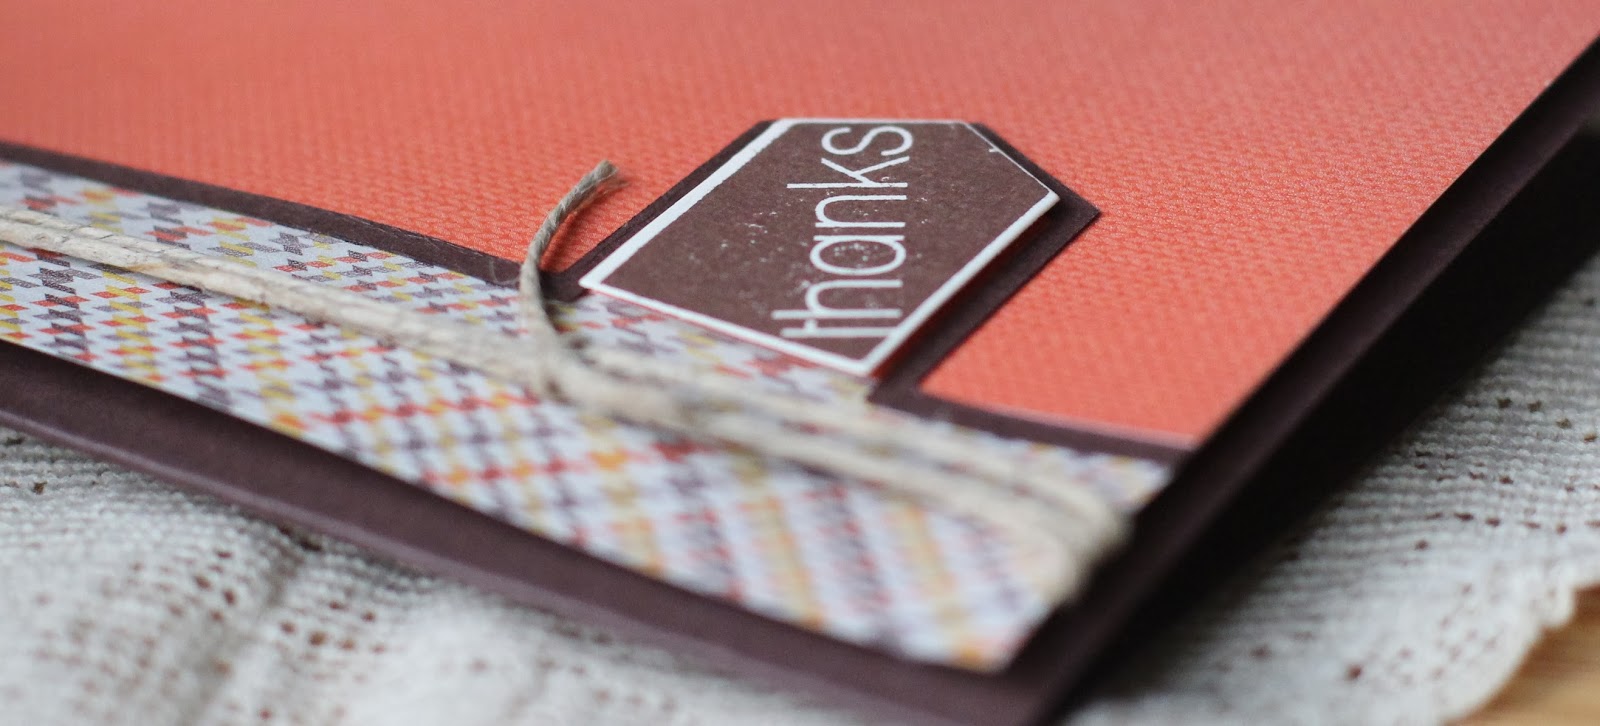
My only stencil is an old checks pattern that I used to use for, amazingly enough, stenciling with paint. I've ordered more stencils and can't wait to get them. So I attached the stencil to my paper with post-its and used an old business card to spread the paste over it. Being haphazard and free flowing is not one of my strong points but I tried to let it be a bit messy and not fill in every square. After the paste dried I attached the "thanks" die cuts with some Glossy Accents but a fine line glue stick would probably have been better.  Does anyone know how to attach them so they are popped up and the dimensionals don't show?

Lastly I added the twine and button.


I'm looking forward to making more cards using this paste!  Have a great day and thanks for stopping by!


SUPPLIES:
Stamps: I guess I didn't use any
Paper: Chocolate Chip, Island Indigo, More Mustard (SU), cheap white
Accessories: Linen Thread,  Earth Elements button (SU), glue dots, spackling paste, dimensionals, Glossy Accents
Tools: Simon Says Stamp Thanks die, Checks stencil


Edited 11/4:  My card was picked as a Sunday Stamps Top Pick. Wahoo!!


Saturday, October 12, 2013

Thanks! and Simon Says Stamp Challenge

I needed a "Thanks" card and so I pulled out my new Simon Says Stamp Friend Flags set.  Quick and easy :-)  This is also for the Wednesday Simon Says Stamp Challenge to use a rubber or clear stamp.


The thanks flag is popped up on dimensionals.


Have a great weekend!


Supplies:
Stamps: Friend Flags (Simon Says Stamps)
Paper: Chocolate Chip, Very Vanilla, Sweater Weather DSP (SU)
Ink: Chocolate Chip
Accessories: Hemp twine, dimensionals
Tools: Flag On A Line die (Simon Says Stamp)

Thursday, August 22, 2013

More Ink Splash with CQC #203

Back with another Ink Splash card using the colors from this weeks ColourQ Challenge.  Aren't they fun colors?


The largest blue ink splash is done in Pacific Point and the smaller one is Island Indigo. The sentiment is Early Espresso.  I added a few candy dots and rhinestones then popped it up on dimensionals.  That's it.  Thanks for stopping by. Have a great day!


Supplies:
Stamps: Ink Splash (Neat and Tangled), Thanks All Ways (PTI)
Paper: White, Island Indigo (SU)
Ink: Island Indigo, Pacific Point, Lucky Limeade, Early Espresso (SU)
Accessories: Candy Dots (SU), Silver rhinestones (Recollections)

Monday, August 19, 2013

Round Repeats Thank You

This week I had a most amazing experience.  My daughter and I went to a local farmer's market which has lots of produce and crafters with their wares.  We saw a table with fused glass and both of us decided to make purchases and so I pulled out my credit card. Well this particular lady only accepted cash or checks and we didn't have enough money.  She looked at us and said why don't you take the items and just mail me a check. I must have given her a crazed look because she said that she was serious. It was $40 worth of merchandise! I couldn't believe it. She told us that no one had ever not mailed her the money. So this card is a thank you to her for being so trusting in a world where no one trusts anymore.


Supplies:
Stamps: Round Repeats, Thanks All Ways (PTI)
Paper: Whisper White - stamped layer (SU), Stamper's Select White - base (PTI)
Ink: Strawberry Splash, Coastal Cabana, Crisp Cantaloupe (SU), Versafine Onyx Black
Accessories: silver rhinestone, dimensionals

Saturday, June 22, 2013

Happy Saturday with Round Repeats

I got my Papertrey order yesterday afternoon so I had to get to my stamp room today and dash off a quick card with my new Round Repeats. This is so easy and fun!

The vertical stamp is Hawaiian Shores, the horizontal one is Aqua Mist and the two cross pieces are Melon Berry.  I stamped a black center and added a stick on silver rhinestone.  This is going to be fun picking color combos.

Have a great Saturday!


Supplies:
Stamps: Round Repeats, Thanks All Ways (PTI)
Paper: Natural Ivory (SU)
Ink: Hawaiian Shores, Aqua Mist, Melon Berry (PTI), Basic Black (SU)
Accessories: Silver rhinestone (Recollections)

Saturday, May 25, 2013

Papertrey Ink May Blog Hop


I'm visiting my daughter in Georgia and we (well maybe just me) had time to stamp today between baby naps and feeding.  I made this card for the May Papertrey Ink Blog Hop which is to create a card using flower images and a choice of color combos. Here is the combo that I chose.


I ended up using only 3 of the colors on my card and I got to use my new Ruby Rose set :-)


Thanks for stopping by and checking out my card.

Supplies:
Stamps: Ruby Rose (PTI)
Paper: Crisp Cantaloupe, Kiwi Kiss, White (SU)
Ink: Crisp Cantaloupe, Tangerine Tango, Kiwi Kiss (SU)
Accessories: Twine, dimensionals
Tools: Ruby Rose die, Linen and Canvas Impression Plate (PTI)

Monday, June 25, 2012

Farm Thanks

I needed a thank you card and since I have to send it off in the mail I have 2 posts today.    This card didn't turn out the way I started it and I'm not entirely happy with it. I have the chicken wire impression plate and I wanted to use it but I couldn't find my rubber mats so I feel the background is a bit blah.  Oh well.

It's pretty straight forward.  The rooster is popped up on a dimensional and the Many Thanks panel is also on dimensionals.


Here is the inside of the card.  I used parts of sentiments from two different stamp sets - SU's You're My Type set and PTI's On the Farm set.

Thanks for looking!


Supplies are Stampin'Up unless noted:
Stamps: On the Farm (PTI), You're My Type
Paper:  Real Red, Whisper White
Ink: Real Red, Daffodil Delight, Gumball Green, Basic Gray
Accessories: Baker's Twine (non SU), dimensionals
Tools: On the Farm Die (PTI)

Saturday, April 14, 2012

To You From Me

I think most of this card is pretty self explanatory. The flower was watercolored and then popped up with dimensionals. The sentiment is taped to the flower panel but has a dimensional under the lower right corner.  The buttons are adhered with glue dots.


All Supplies Stampin'Up:
Stamps: Because I Care, Best Yet
Paper: Tempting Turquoise, Black, White, Tempting Turquoise Prints DSP
Ink: Black, Tempting Turquoise, Old Olive
Accessories: Brights buttons, White Baker's Twine, 1/4" Black grosgrain ribbon, dimensionals, 
Tools:  circle punches, aquapainter


This second card is very simple. I made several of these as thank you cards for flowers sent to my MIL's memorial service. The stamp is "A Big Thank You" by PTI and it's all one stamp so was super simple. The sentiment panel is popped up on dimensionals to give it a bit more interest.


Saturday, March 31, 2012

Many Thanks

Here is another version of the same card.  The base of the card (which you can't see unless you open the card) is Whisper White. I added a piece of Twitterpated DSP to the bottom of the card. The top portion of the card is textured white card stock. I used the Edgelit die and the Textured Impressions Embossing Folder on the bottom edge. I added a piece of Island Indigo below that making the identical edge.  Then I stamped an image from the Bordering on Romance stamp set in Basic Gray ink.  I watercolored some Blushing Bride on the flowers and while they were still wet I added a bit of Riding Hood Red near the centers of the flowers. The leaves were colored with Lucky Limeade and the small flowers with Island Indigo. The centers of the flowers are Crushed Curry with a few dots of black made with a black marker. I don't know if you can see that in the picture.  The sentiment from Petite Pairs was stamped in Basic Gray (with an unfortunate little bloop off to the side).  I think that's it :-)


Supplies by Stampin'Up:
Stamps: Bordering on Romance, Petite Pairs
Paper: Whisper White (regular and textured), Island Indigo and Twitterpated DSP
Ink: Blushing Bride, Riding Hood Red, Lucky Limeade, Basic Gray
Tools:  Edgelits die, Textured Impressions Embossing Folder

Related Posts Plugin for WordPress, Blogger...